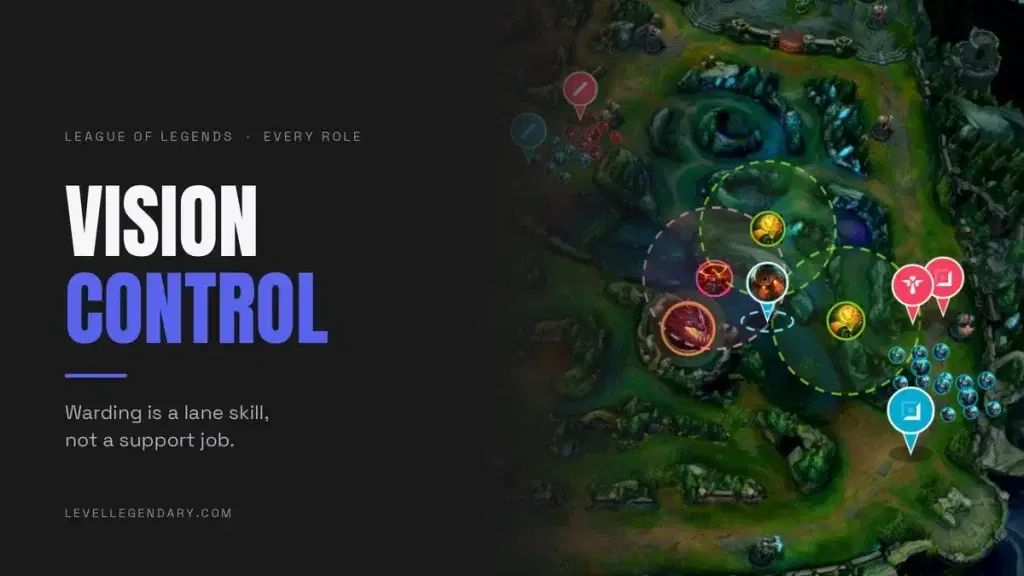
If your vision plan is “the support wards”, you are playing three quarters of the map blind and calling it your jungler’s fault.
Every death to a gank you could have warded against is about 450 gold to the enemy, plus the wave you lost, plus the plates or objective taken while you walked back. Two of those a game is a full item of throughput handed over.
The number that gives it away is control wards. Most players below Diamond buy zero or one per game, out of a possible fifteen or more. That is 75 gold, sitting in your pocket, refusing to buy the one stat that prevents deaths instead of trading them.
The three rules of useful vision
Wards are not a courtesy you perform for your team. Each one is a purchase, and like any purchase it should answer a question you actually have.
- Ward for your next decision, not the nearest bush. Before placing, name the question the ward answers: can I push this wave, can I cross this river, is Baron safe. A ward that answers nothing is decoration.
- Buy a control ward every base. It costs 75 gold, less than two casters, and it lives until someone walks to kill it. Place it on the side of the objective that spawns next, about ninety seconds before it does.
- Ward on timings, not on cooldown. Place wards when enemies show on the far side of the map or after a pick, when nobody can contest the river or their jungle. Warding into darkness is how wards and players die together.
Walkthrough: buying the dragon fight with 150 gold
Say you are a mid laner, dragon spawns at 14:00, and the game is even. Here is what vision control looks like as a lane skill rather than a support chore.
13:00, in the shop
You base off a crashed wave and buy your components, and then the part most players skip: a control ward, and a glance at the minimap before you leave the fountain. Their jungler showed top side at 12:40. That single fact prices every ward you are about to place, because jungle routes are predictable enough that one sighting projects the next thirty seconds.
13:30, wards on the way
You walk back through the bottom-side river, not the lane. The control ward goes in the pixel bush or the drake pit, and your trinket covers the enemy raptor entrance while their jungler is still provably top. Twenty seconds of walking, and the dragon pit is now lit for your whole team.
Placing wards on the way to where you were already going is the whole trick. It is the same movement discipline supports drill for roam timings, applied by a laner at zero cost in tempo.
14:00, the fight you can now read
Dragon spawns and your team is not guessing. You see their jungler path bottom through your raptor ward, your team collapses first, and the fight starts five against four in vision you own. Nobody will credit the 75 gold, but objective fights are decided in the setup, and the setup was yours.
Denying vision is the other half
Placing wards tells you where the enemy is. Clearing theirs decides what the enemy is allowed to know, and it is the half of vision control that actually sets up picks and objective steals.
The habit worth stealing from high elo is the trinket swap: once your first item is done and laning phase is ending, most players in every role should be weighing the sweeper. A laner who sweeps the pit before dragon does more for the fight than a fourth damage item ever will.
Sweep with a purpose, in the thirty seconds before your team wants to move on something. Clearing a random lane bush at minute nineteen is tidy. Clearing the pit ward while their jungler is showing top is a free objective wearing a chore’s clothing.
“Warding is the support’s job”
Run the numbers on that. A support carries three or four wards at a time, and a properly played map wants eight or more live at once. The support physically cannot cover their lane, the river, and your side of the map with one inventory, which means the difference is you.
The sharper version of the objection is “I need my trinket for my own lane”, and that one is half right. Your yellow trinket is for your lane; the control ward is the one you owe the map. Buying it does not make you the support. It makes you the laner who stops dying to things everyone else on your team could see coming.
From the coach
Supports get blamed for vision because ours are the only wards anyone looks for on the death screen. The games where I climb easiest are the ones where laners ward their own side, because then my wards get to be ambitious instead of mandatory.
Coach Brian, Grandmaster support and bot lane coach at Level Legendary. See his coach profile.
What to do in your next game
- Buy a control ward on every single base. No judgement calls, no exceptions, for one week. If it feels wasted, you are placing it in the wrong spot, not buying it at the wrong time.
- Before every ward, say the question it answers out loud. “Can I push”, “is river safe”, “where does their jungler start”. If you cannot name the question, keep the charge.
- Check your ward score after each game. As a laner, aim for two control wards placed and one enemy ward cleared per game. Modest numbers, and they still put you ahead of nearly everyone in your lobby.
Vision is the fastest macro habit to fix because it costs gold and attention, not mechanics, which is why it is one of the first things League coaching sessions target. The scoreboard never explains the game where nothing ganked you and every objective felt easy, but that game was built, and LoL coaching exists to make you the one building it.
If you want a coach to show you where your last three deaths were visible on the minimap before they happened, your first session is free: one of your games, reviewed live with a high-elo coach, no card required.